If you’ve been searching for how to fix chipped paints during an interior house painting in Manchester, NJ, you’re not alone. Chipped walls can make a space feel tired, but the good news is you can repair them without repainting an entire wall. With the right preparation, tools, and technique, your walls can look flawless again.
As an interior house painter, I’ve seen it all — from chips caused by rowdy kids playing indoors to damage from moving furniture. One homeowner once told me they kept a decorative ladder leaning against their living room wall for months, just to hide a chip that drove them crazy. Small repairs like this can be fast and long-lasting when done properly.
Key Takeaways
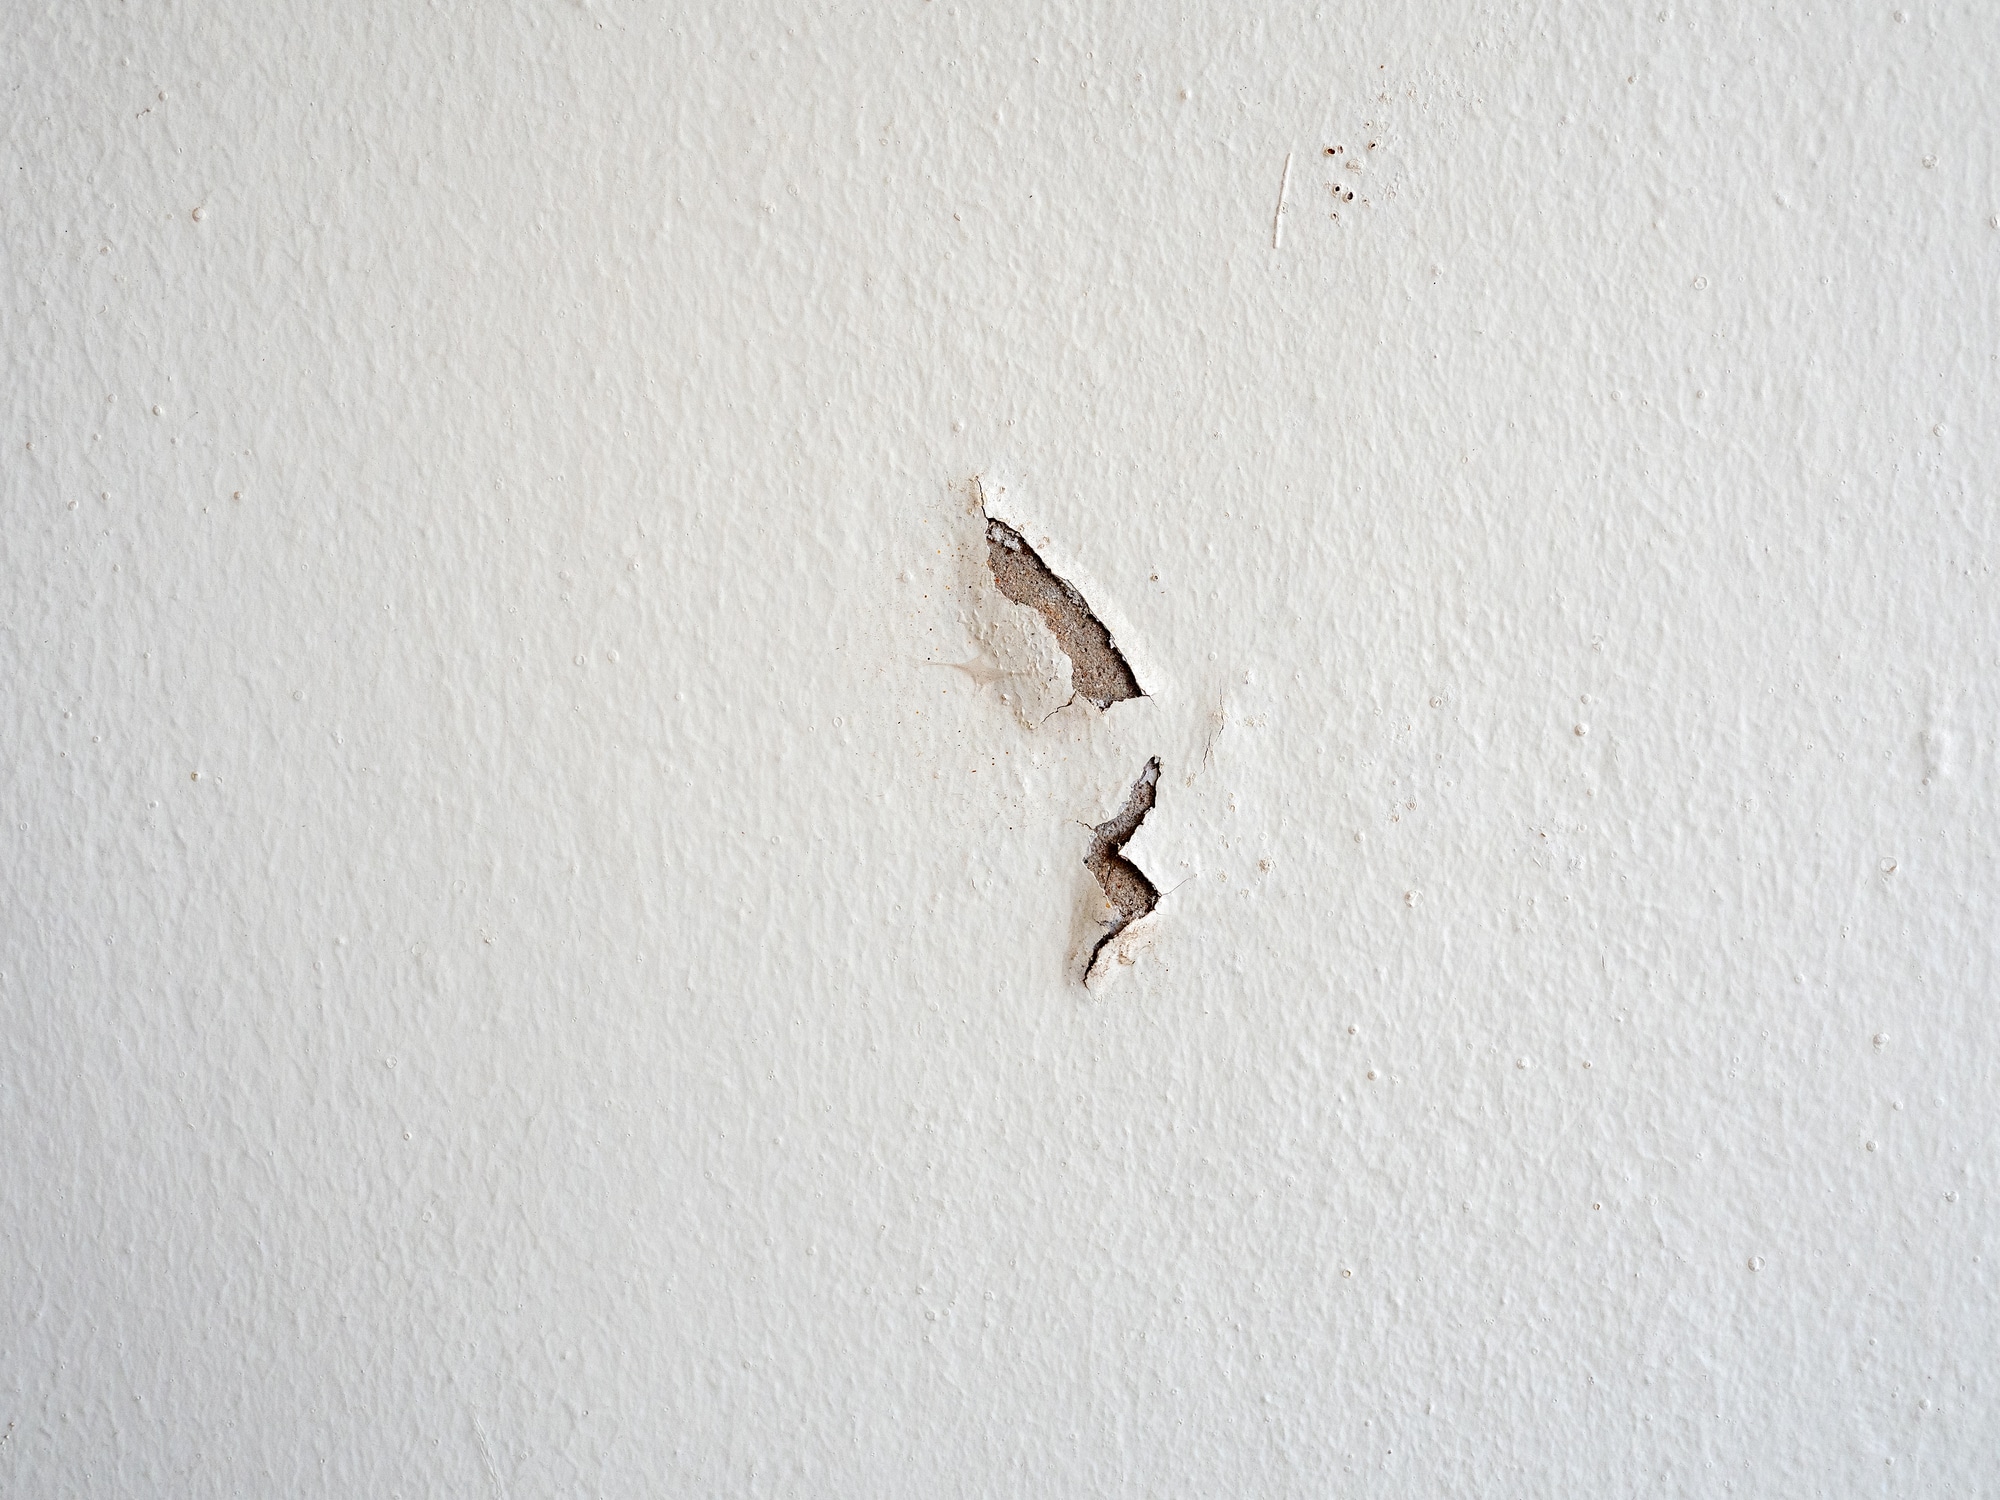
Why Paint Chips and Peels Happen
Before learning how to fix chipped walls, it’s worth knowing the common causes. Some are as simple as physical impact from furniture or toys, while others involve moisture, poor surface prep, painting over glossy finishes, or applying overly thick coats.
I once worked in a basement rec room where the paint had peeled in several spots near the floor. The culprit was moisture creeping in through the foundation — something that could have been prevented with the right primer.
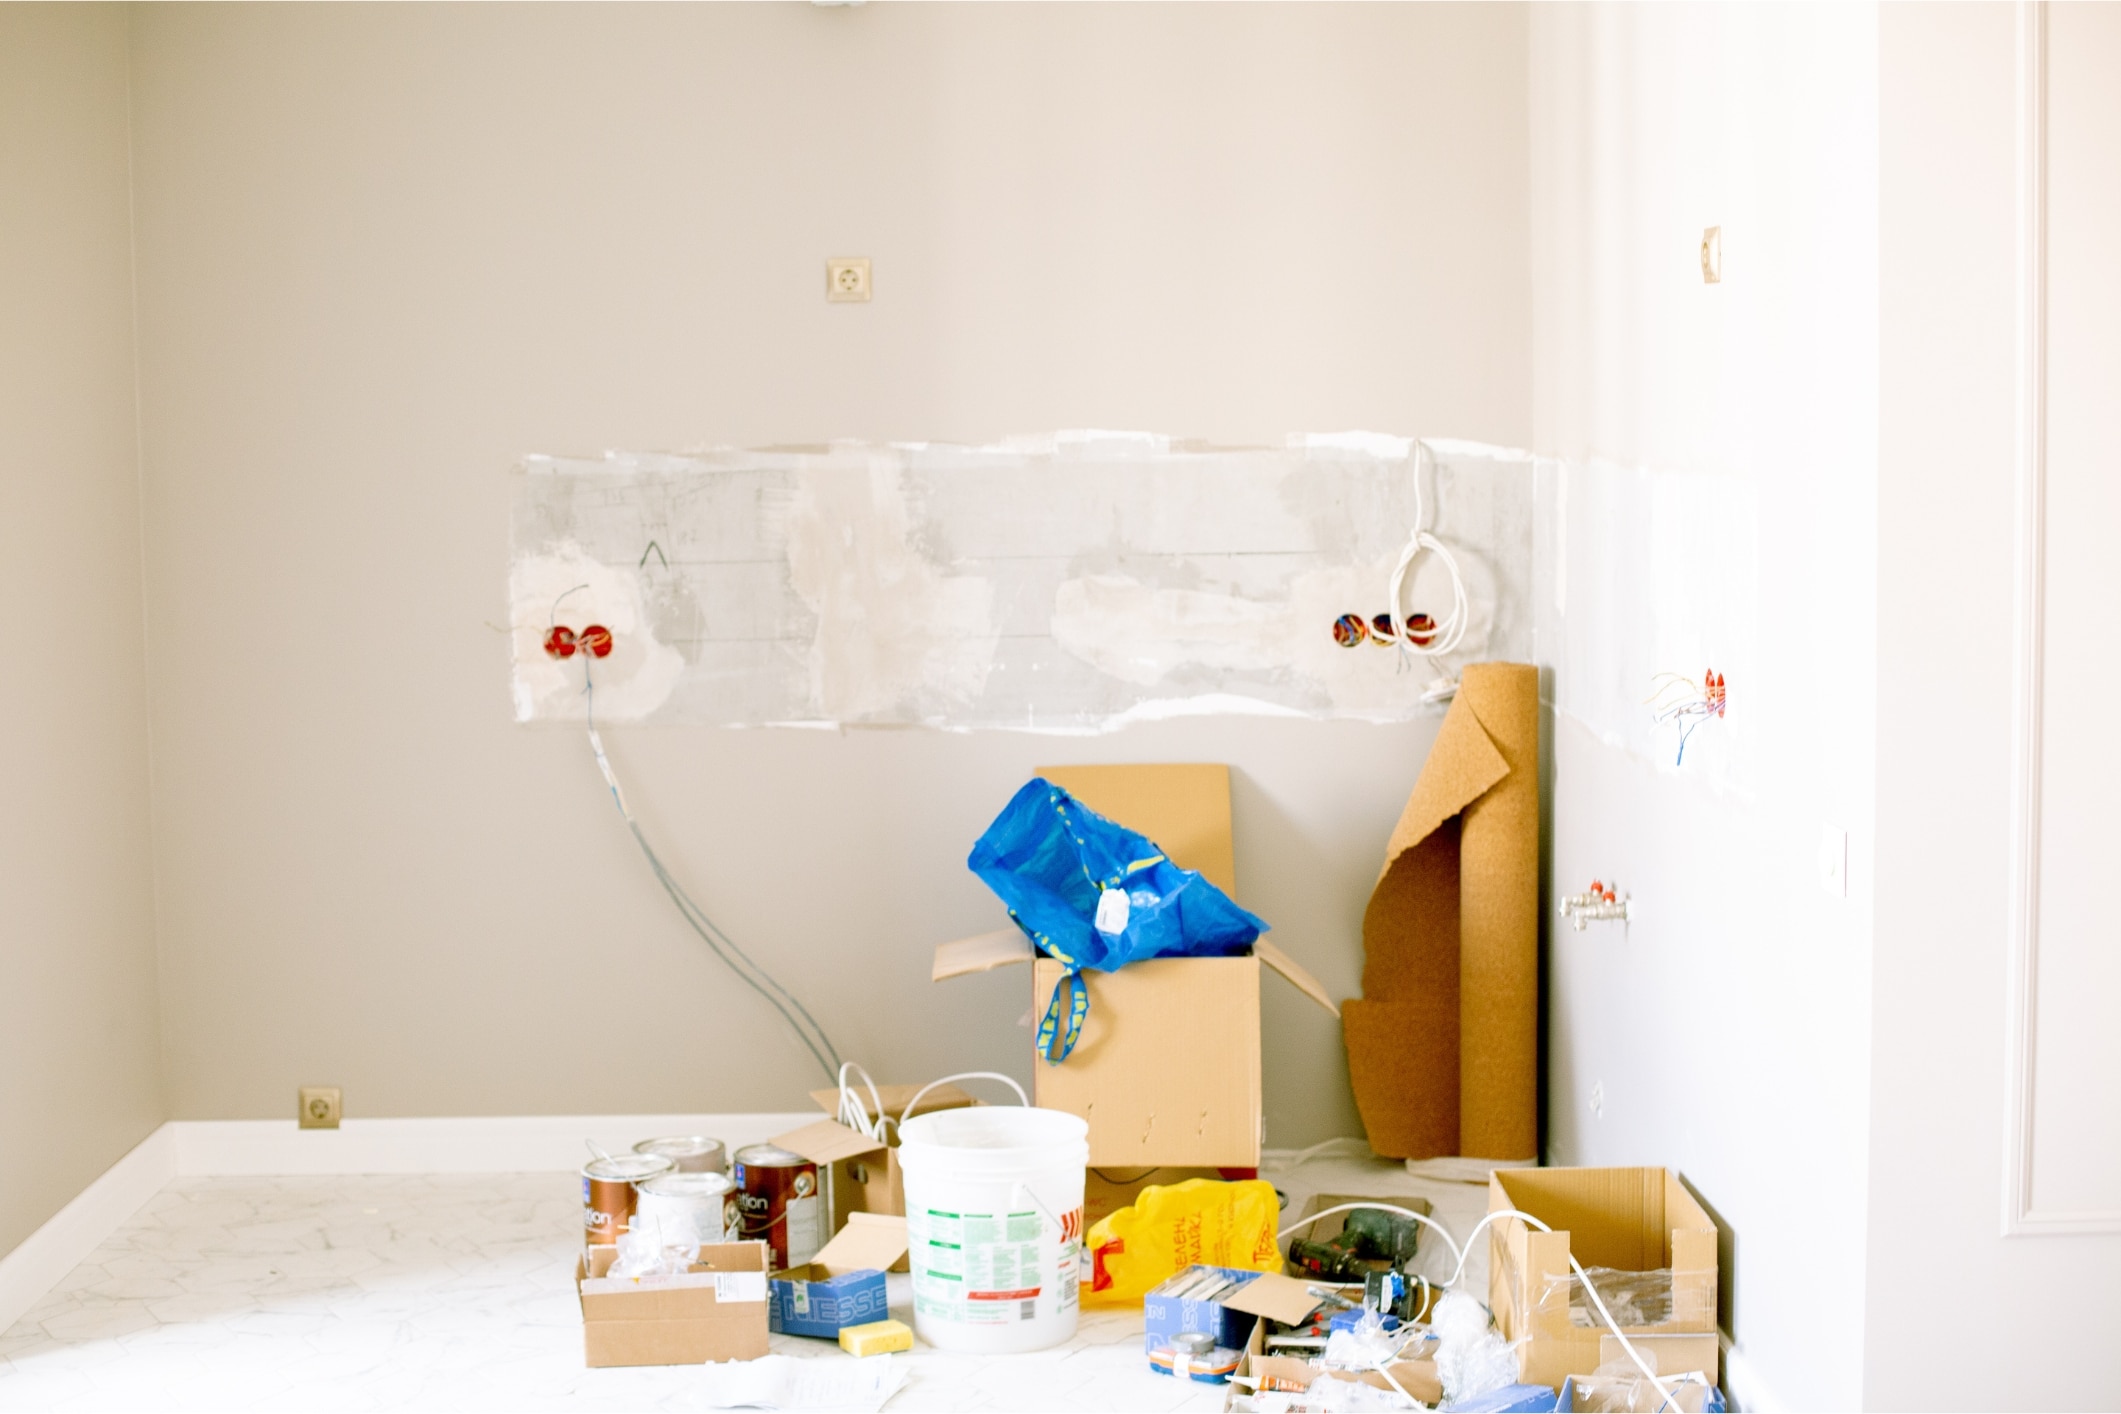
Prepping for a Flawless Repair
Preparation is key to a repair that lasts. For small chips, spackle is light and easy to use. For larger damage, drywall joint compound might be necessary. Have a 2-inch putty knife for applying filler and a 4-inch knife for smoothing it out.
Tools and Materials You’ll Need
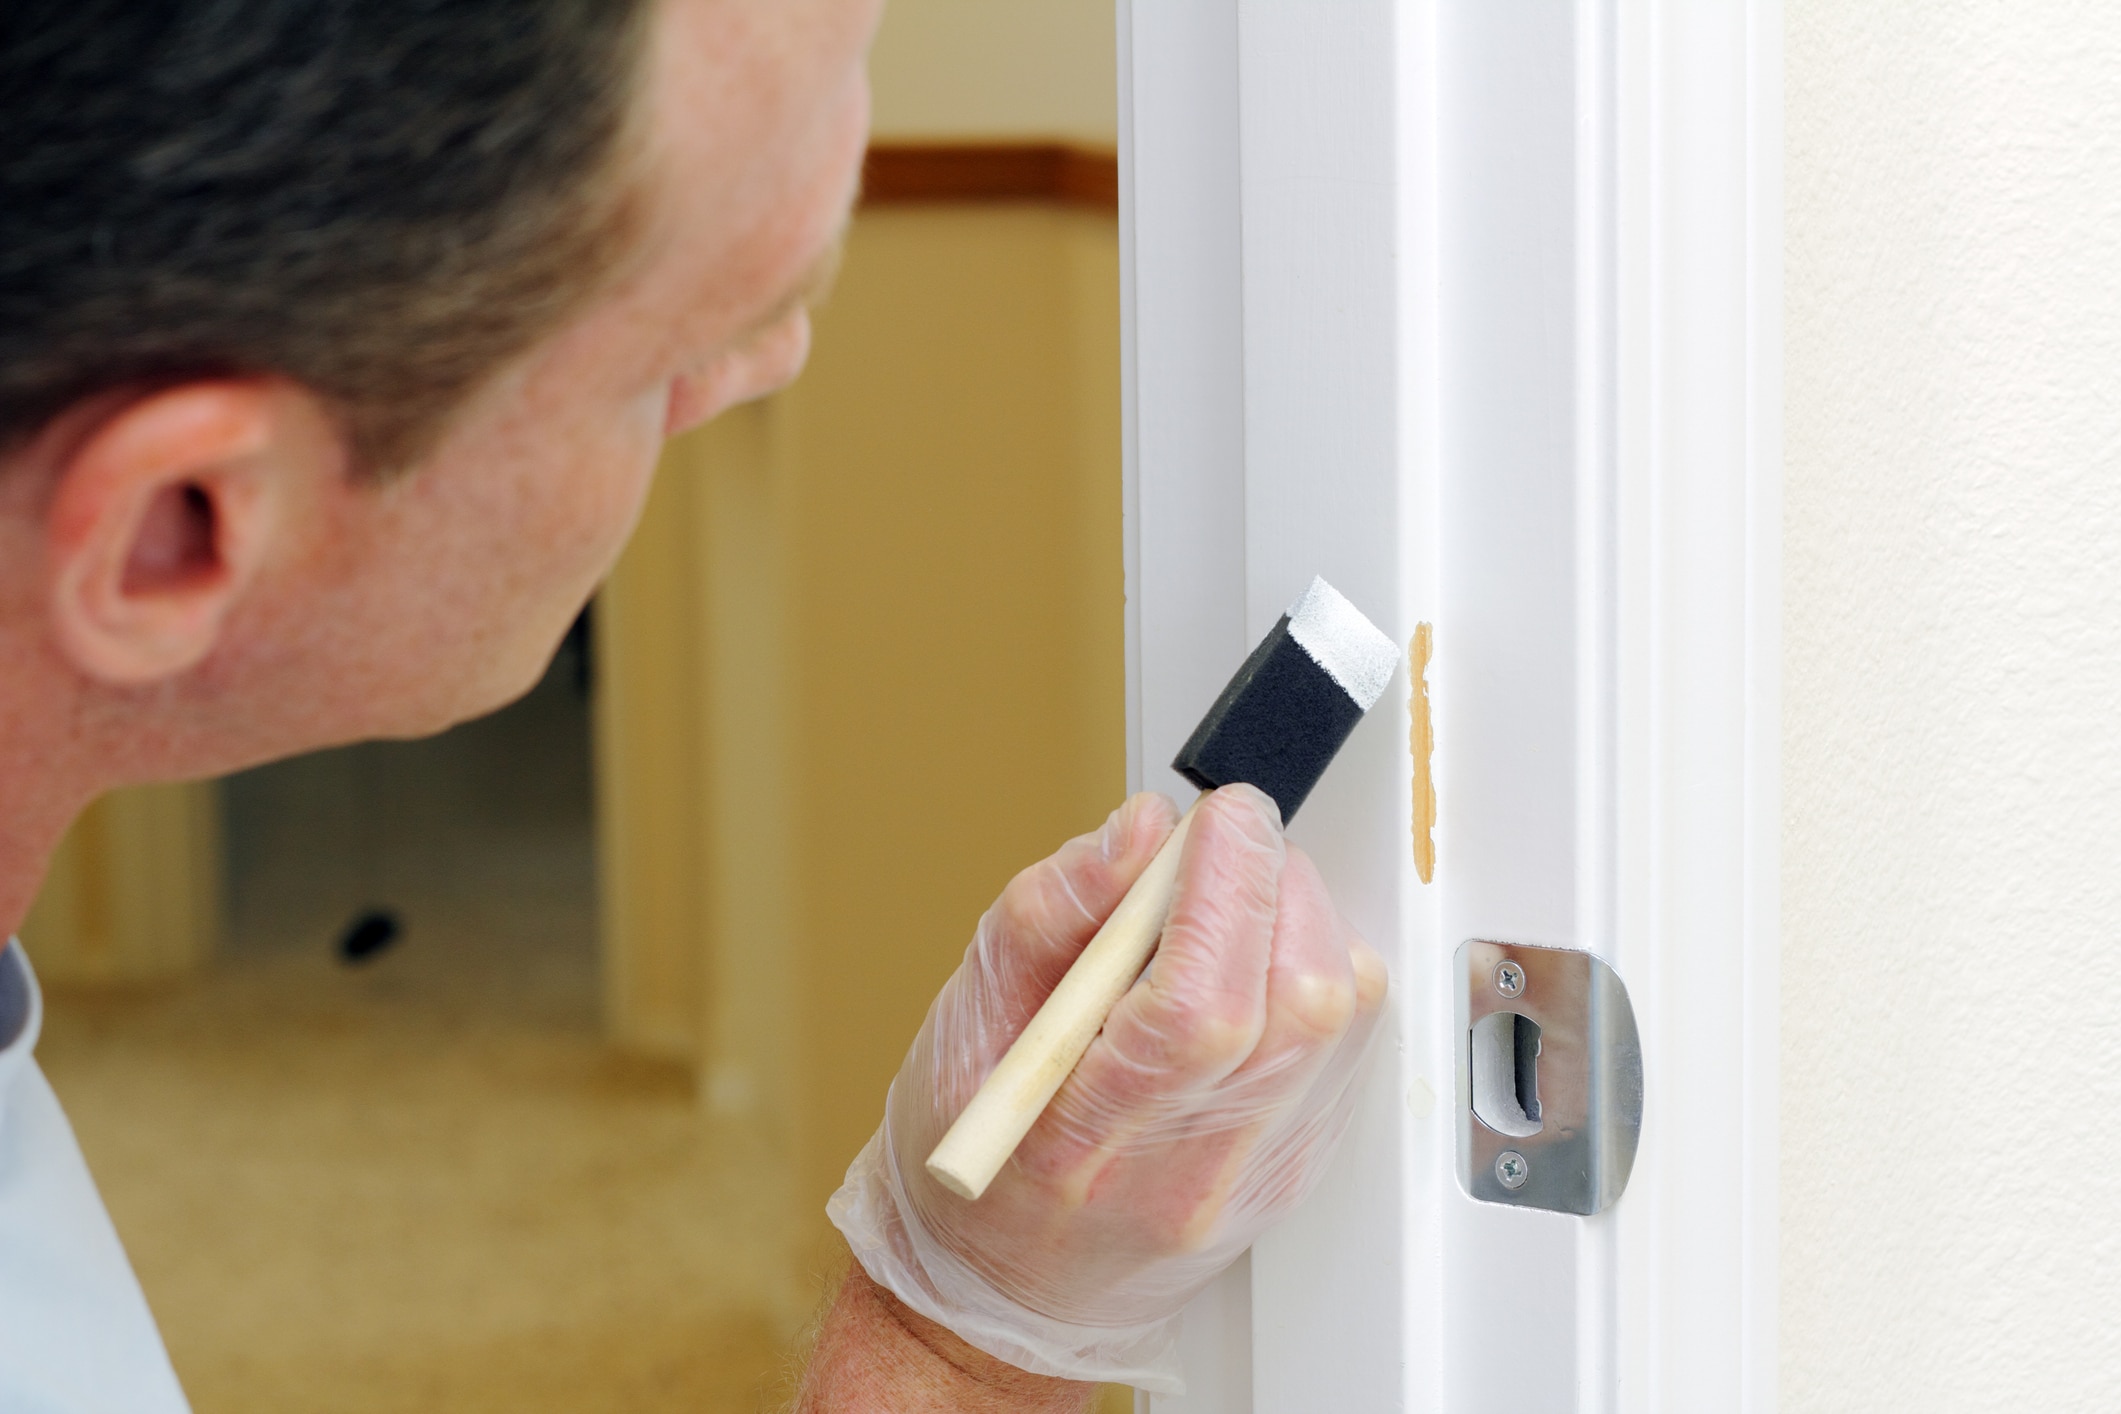
Learn How to Fix Chipped Paints

Preventing Future Chips
Taking steps to prevent future paint chips will save you time and frustration later. Here’s what to do:
For extra protection in high-traffic zones, consider adding wainscoting or chair rails. These features act as a barrier against scuffs, furniture bumps, and everyday wear, helping your paint look fresh for years.
ProEdge Painting Can Restore Your Walls
Chipped paint can take away from the beauty of your home, but with the right process, you can have walls that look fresh again. And if you’d rather skip the hassle, our team is ready to make it happen for you.
If chipped walls are making your home feel worn, ProEdge Painting can help. We offer interior house painting services in Manchester, Toms River, and Brick, NJ. Call 732-402-0036 for a FREE estimate and let us restore your walls to perfection.
From preparation to cleanup, we handle it all, leaving you with smooth, beautiful walls that look brand new.