If you’ve ever wondered how to paint trim during interior house painting in Jackson, NJ, you’re in the right place! A fresh coat of trim paint can completely change the look of a room, adding that final touch of polish and sophistication. Whether you’re tackling this yourself or thinking of hiring a professional house painter, understanding the basics of trim painting will make the process easier, smoother, and more enjoyable.

Key Takeaways

  • Proper preparation ensures your trim paint job looks crisp and clean, just like a pro’s.
  • Choosing the right trim paint gives a durable finish that will last for years.
  • A good brush and caulk make the process quicker and more efficient with fewer mistakes.
  • Precision taping ensures sharp edges and reduces the risk of unwanted paint splatters.
  • Patience between coats guarantees a smooth, streak-free finish that stands the test of time.
how to paint trim

Materials and Tools Needed

  • 2-inch angled paintbrush: This will give you better control over the trim edges.
  • Putty knife: For filling holes and cracks in the trim with wood filler.
  • Caulking gun: To apply caulk where the trim meets walls or ceilings.
  • Sanding sponge (100- to 150-grit): Helps degloss the trim or smooth out any imperfections.
  • Microfiber cloths: To clean dust and debris from the trim.
  • Drop cloths: Protect the floors from paint drips and spills.
  • Acrylic-latex interior paint: The go-to choice for trim since it dries quickly and is easy to clean.
  • Acrylic-latex caulk: Fills small gaps and provides a seamless trim-to-wall connection.
  • Painter’s tape: Ensures you get those crisp, clean lines.
  • Wood filler: For repairing holes or cracks in the trim.
  • 12-inch masking paper: To protect baseboards or molding.

  • Trisodium phosphate (TSP): A cleaning solution to remove grease and grime from trim surfaces.

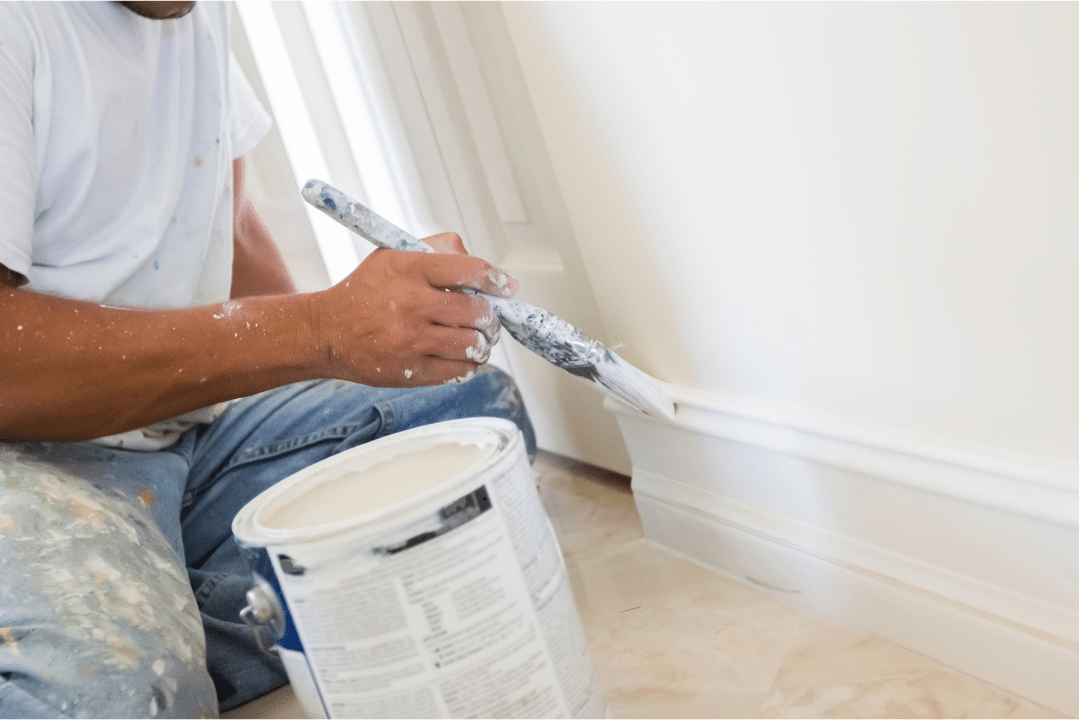
Step-by-Step Guide on How to Paint Trim

Painting trim might seem like a small part of a larger painting project, but it can have a huge impact on your home’s look. Here’s a step-by-step guide that will walk you through how to paint the trim like a seasoned pro.

how to paint trim

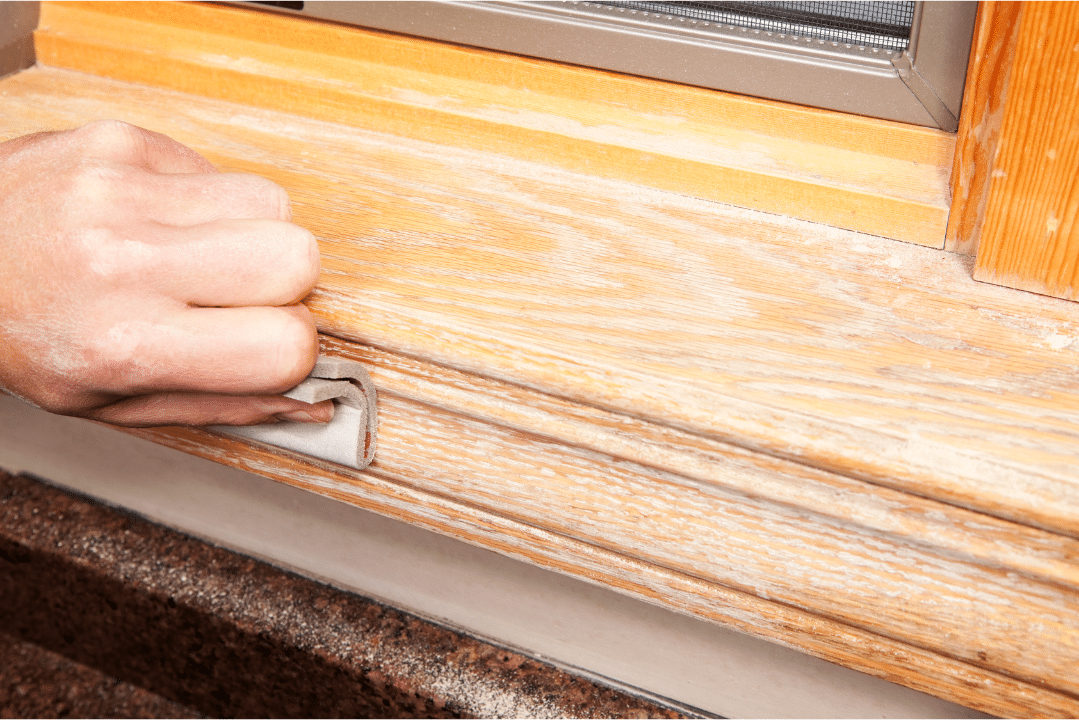
Tips for Perfect Trim Painting

  • Quality Brushes Matter: Use a high-quality angled brush for better precision when painting trim.
  • Don’t Overload the Brush: A brush that’s too full can cause drips and an uneven finish.

  • Take Your Time: Don’t rush between coats. Allow the paint to dry properly to avoid streaks.

  • Smooth Caulking: Be sure to run the caulk smoothly along the edges for clean lines.

  • Be Patient: Allow sufficient drying time between coats for a flawless finish.

How to Paint Trim Like a Pro: Why It’s Worth the Effort

Getting your trim right can truly make your home feel complete. Whether you’re painting trim for the first time or giving your space a fresh look, following these steps will help you achieve a professional-looking result. The little details, like smoothing out cracks and using quality materials, add up to a big payoff. While it’s not a tough job, it does take patience and precision.

how to paint trim

If you’re in Jackson, NJ, and want to save time or need help with a larger project, ProEdge Painting can handle all your interior house painting needs. They’ll make sure the trim painting process goes smoothly and that you get the look you want, without the hassle.

Wrapping Up Your Trim Painting Project

Once you get the process down, painting trim becomes easier, and the results are always worth it. If you’re looking for a professional touch, consider ProEdge Painting. They’re the go-to professional house painters in Jackson, NJ, and the surrounding areas, offering free estimates and expert services.

Call ProEdge Painting today at 732-402-0036 for a FREE estimate.