When you’re trying to figure out the best method for painting kitchen cabinets, the decision usually comes down to a single fork in the road: spray vs brush cabinet painting. I get this question almost every week from homeowners planning a kitchen refresh, and it’s one worth answering properly rather than glossing over. Our cabinet painting services cover both approaches, and choosing the right one depends on your cabinet style, your finish expectations, and the scope of the project.
What’s the Real Difference Between Spray and Brush Cabinet Painting?
Cabinet surfaces are not walls. They sit at eye level, take daily contact from hands and cleaning products, and are exposed to kitchen grease and steam over years of use. A paint application method that works fine on a bedroom wall may not hold up the same way on a cabinet door getting wiped down every other day.
Spray vs brush cabinet painting comes down to two core variables: film consistency and surface texture. A spray gun atomizes paint into a fine mist and deposits it in thin, uniform layers. A brush or roller applies paint by hand, which means film thickness varies slightly with every pass. On a wide wall twelve feet away, that variation is invisible. On a cabinet door two feet from your face, it shows up clearly under direct light.
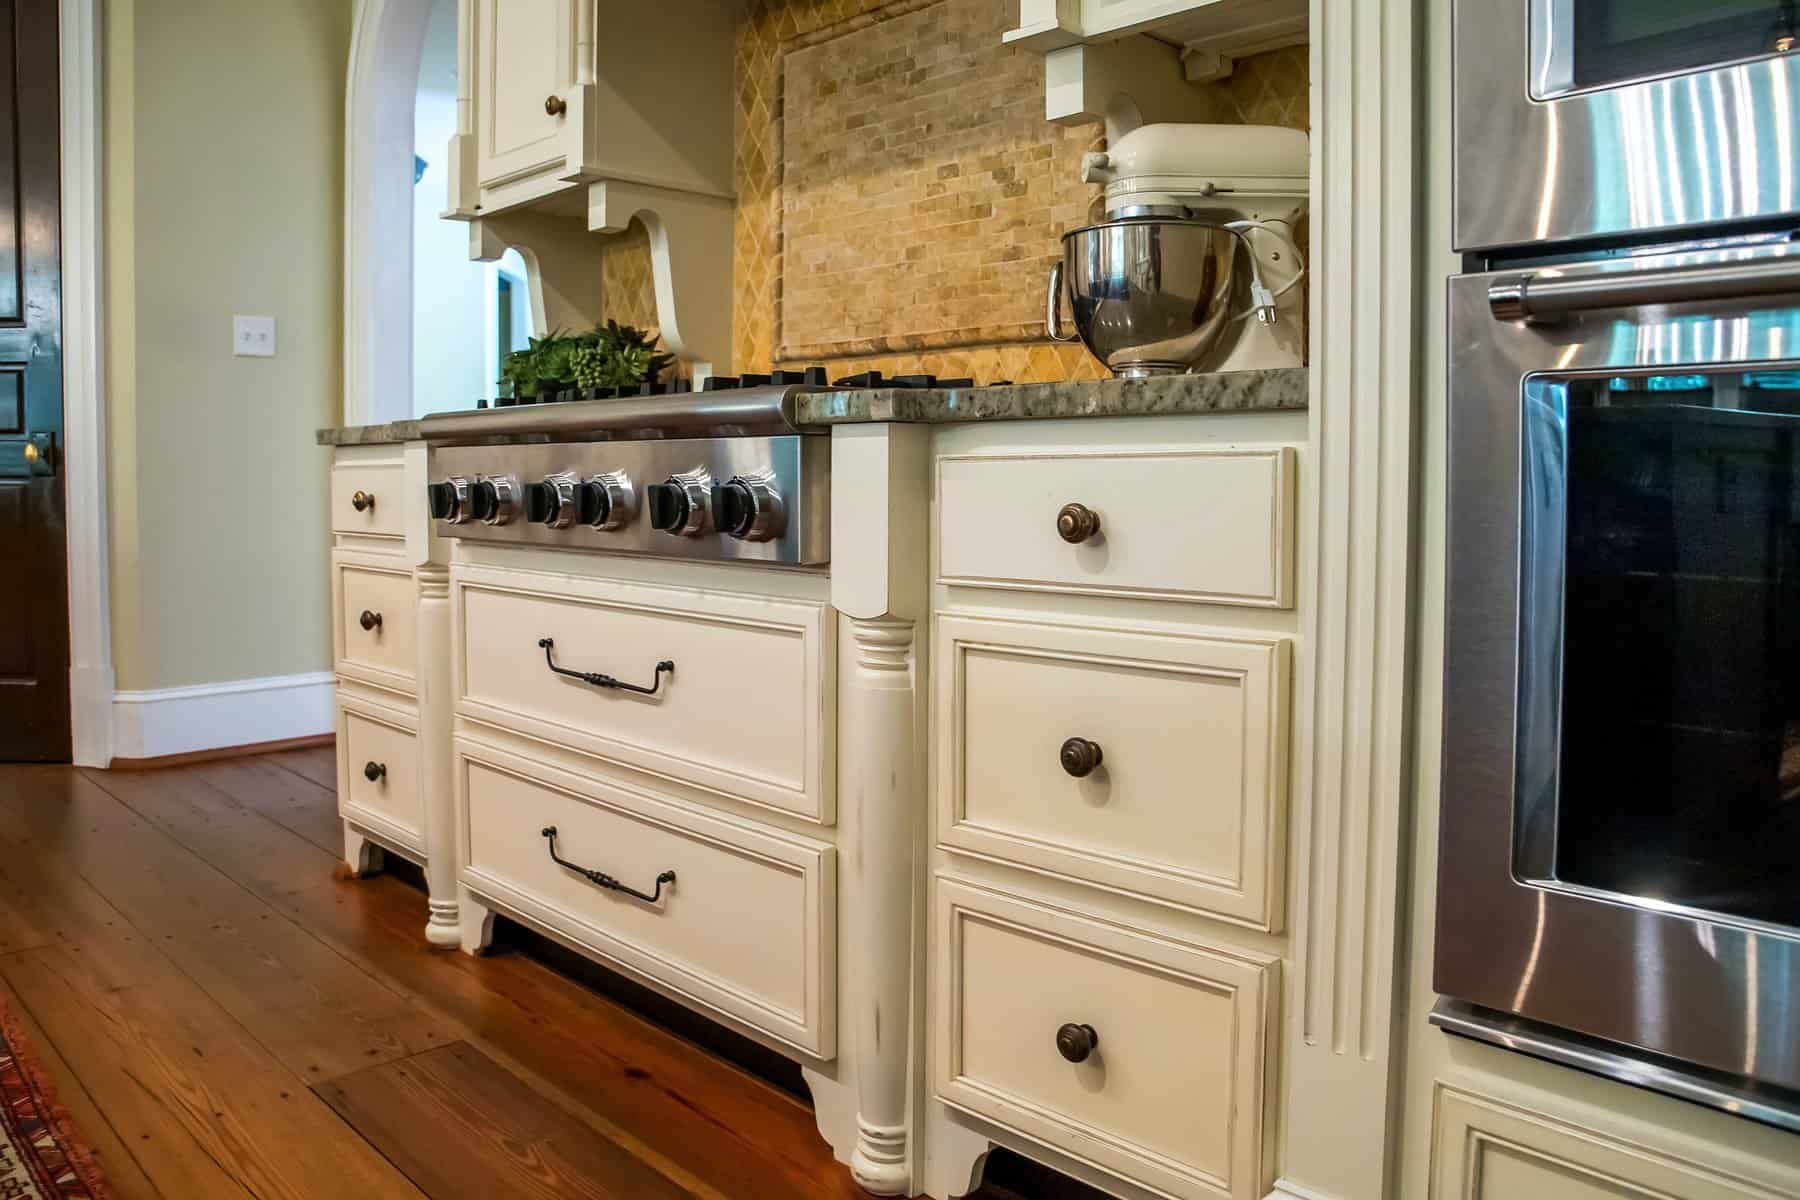
The difference between a brushed cabinet and a sprayed one isn’t subtle. Cabinet doors sit at eye level, and any texture in the film- bristle ridges, roller stipple, drag marks at corners- shows up under direct light.
The eye reads brushed cabinets as “hand-painted” and sprayed cabinets as “factory.”
Spray Application for Cabinet Painting
Professional spray painting uses specialized equipment such as HVLP or airless sprayers to apply paint in fine, controlled layers.
In most cabinet refinishing projects, doors are removed or carefully masked in place, then sprayed in a controlled environment to limit dust and overspray. The paint is atomized into a fine mist, allowing it to settle evenly across flat surfaces, edges, and detailed profiles.
A properly executed spray application produces a surface that reads glass-smooth, with no visible application marks and a consistent sheen from one door to the next.
Advantages of Spray Application
Drawbacks to Consider
Brush and Roll Application for Cabinet Painting
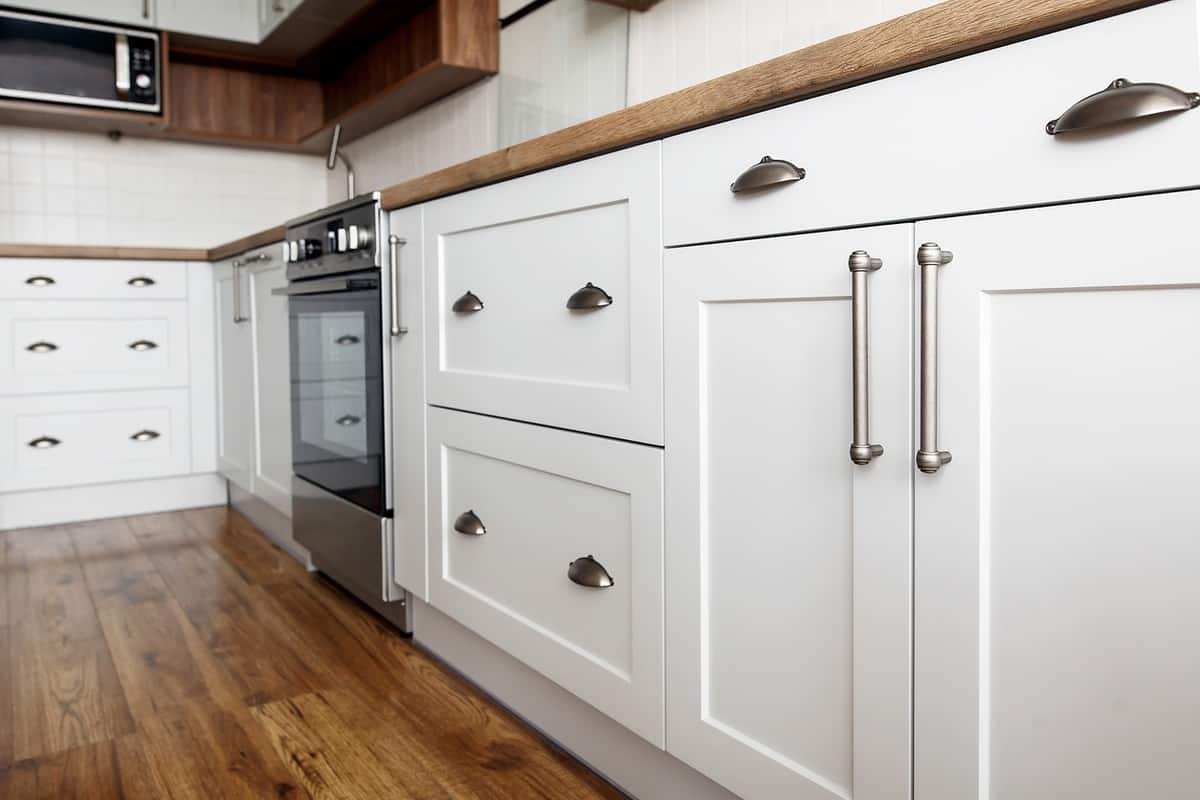
Brush and roll is exactly what it sounds like. A painter uses an angled brush and a small foam roller to apply paint by hand. This is the more traditional side of spray vs. brush cabinet painting, and it has a real, honest place in the right situations.
With a high-quality angled brush with synthetic bristles and a foam roller, a skilled painter can produce a finish that looks clean and even at normal viewing distance.
It will not be glass-smooth under raking light, but for lower-traffic applications it holds up adequately.
Where Brush and Roll Makes Sense
Where Brush and Roll Falls Short
Spray vs Brush Cabinet Painting: Side-by-Side Comparison
| Factor | Spray | Brush and Roll |
|---|---|---|
| Finish texture | Smooth, factory appearance | Clean at normal distance; texture visible under direct light |
| Film thickness per coat | 2 to 3 mils | 4 to 6 mils |
| Cure time to full hardness | Roughly 2 weeks (waterborne enamel) | 3 to 4 weeks due to thicker film |
| Masking and setup | Extensive | Minimal |
| Best applications | Full kitchens, modern flat-panel or shaker doors, high-end finishes | Small projects, traditional styles, touch-up work |
| Relative cost | Higher | Lower |
| Touch-up ease | Harder to blend | Easier to blend |
| Durability on high-contact surfaces | Strong when cured correctly | Adequate, but film inconsistency can shorten the lifespan |
Why Prep Work Matters More Than the Method
I’ll be direct about something a lot of content around spray vs brush cabinet painting skips over entirely: neither method produces a durable finish over an unprepared surface. The prep phase determines whether a cabinet paint job earns its lifespan or loses it before the topcoat even goes down.
Kitchen cabinets accumulate grease, cooking residue, and airborne oils over time. That buildup sits on the surface and blocks paint adhesion, just like a release agent would. Painting cabinets without removing the hardware first almost guarantees missed spots and drips. Professional cabinet prep always starts with full removal.
According to professional cabinet prep guidance from Hyde Tools, the steps that set up a quality finish are consistent regardless of application method:
- 1
Remove all doors, drawer fronts, and hardware; label each piece so it goes back in its exact original position.
- 2
Degrease every surface, kitchen grease actively repels paint; this step cannot be skipped.
- 3
Scuff-sand the existing finish, not to strip it, but to give the primer a surface to grip.
- 4
Apply a bonding primer, a bonding primer when the existing finish is in good condition gets maximum adhesion for the new topcoat.
- 5
Lightly sand after the primer dries; 220-grit sandpaper knocks down imperfections before finish coat 6. Apply finish coats in thin layers with proper dry time between each pass.
Cabinets are high-contact, grease-exposed, moisture-adjacent surfaces that get cleaned with degreasers and wiped down repeatedly. A paint job that looks fine on a bedroom wall for ten years may start failing on a cabinet door in eighteen months if the application method creates an inconsistent film.
For more on why surface preparation connects directly to how long your finish holds up, our post on how long painted cabinets last in Brick, NJ kitchens goes deeper into what separates a durable result from one that starts chipping within a year.

When to Choose Each Method
Picking the right side of spray vs brush cabinet painting isn’t about which sounds more impressive. It’s about matching the method to what your kitchen actually needs.
Choose spray application when:
Choose brush and roll when:
A hybrid approach is also common: spray the doors flat on sawhorses and brush and roll the cabinet boxes in place. When an experienced crew does it, the hybrid approach produces results that satisfy most homeowners. The key variable is whether the contractor is honest about the sheen variation you may notice between sprayed doors and brushed frames under different lighting conditions.
If you’ve dealt with texture or brush-mark issues in past paint jobs, our post on how to avoid paint streaks on walls covers technique details that apply to cabinet surfaces as well.
How the ProEdge Painting Team Approaches Cabinet Projects
Homeowners across Toms River, Brick, and Stafford Township bring us cabinet projects at every scale, from a single bathroom vanity to a full kitchen with two full runs of cabinetry. The team’s approach to spray vs brush cabinet painting always starts with the same question: what does this specific project actually need to hold up well over the years ahead?
Every project begins with a walkthrough. The estimator looks at the cabinet style, the existing finish condition, the project scope, and what the homeowner wants out of the result before any method is recommended. We use Benjamin Moore and Sherwin-Williams products selected for cabinetry specifically, not general-purpose interior paint. Every project is backed by a 1-year workmanship warranty, so the team has real accountability in getting the method and prep right.
Drop cloths, plastic sheeting, and careful masking protect your floors, counters, and appliances throughout the process. When the job is done, the team cleans up before leaving.
Our cabinet painting services page walks through what the process looks like if you want more detail before reaching out. And if you’re still deciding whether to paint or replace your cabinets altogether, our post on painting kitchen cabinets as a smart alternative to replacement may help you decide first.